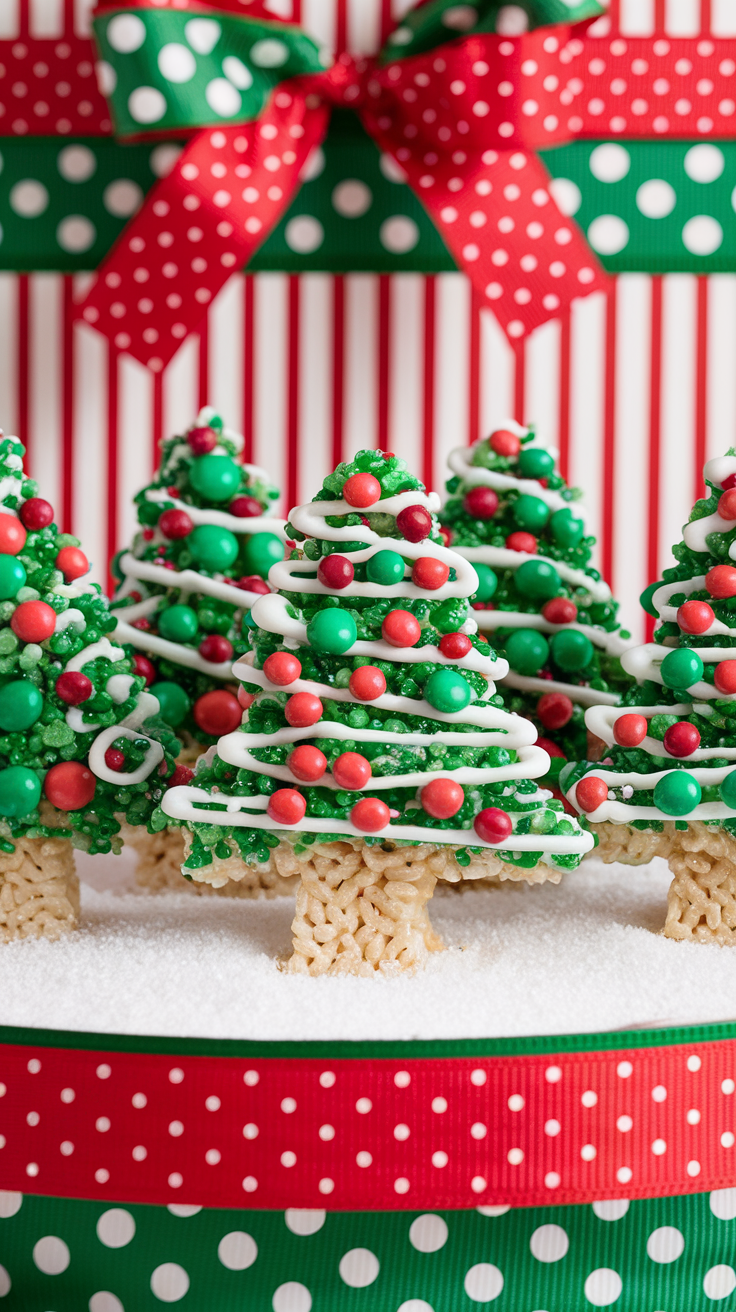
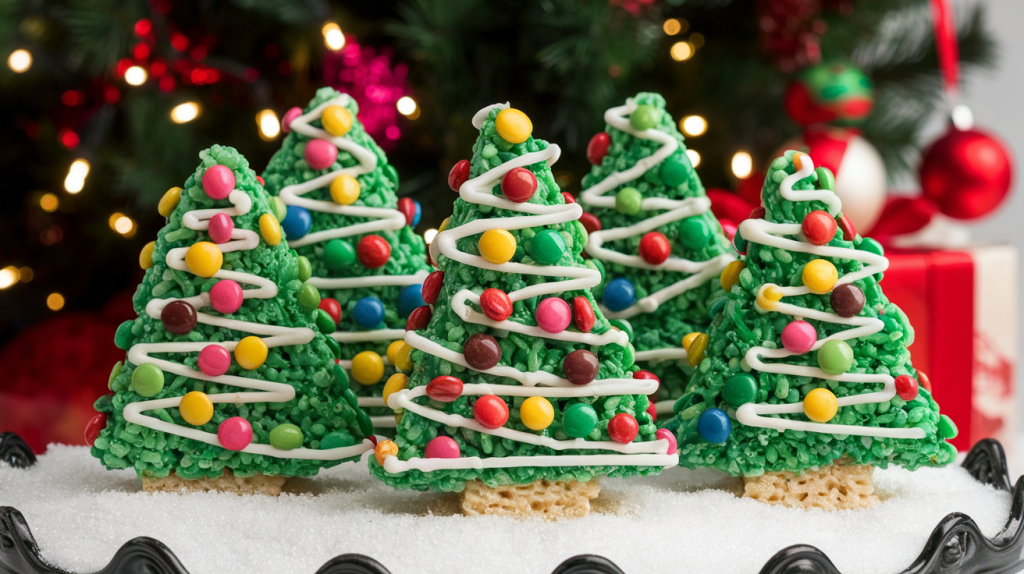
Festive, adorable, and oh-so-delicious!
Darlin’, there’s nothing like turning dessert into an art project, and these Rice Krispie Christmas Trees are as fun to make as they are to eat! Whether you’re wrangling the kids for a holiday kitchen adventure or whipping these up for a festive treat tray, these little trees bring joy to any table. Plus, they’re so easy you might find yourself making them year after year!

Ingredients
- 3 tbsp unsalted butter: The base for that gooey goodness.
- 10 oz mini marshmallows (about 6 cups): Melted magic!
- 6 cups Rice Krispies cereal: The crispy, crunchy foundation.
- Green food coloring: For that festive tree color.
- Assorted candies or sprinkles: To decorate (think stars, ornaments, and garlands!).
- 1 tube of white icing: For piping snow or garland details.
Supplies Needed
- Large mixing bowl
- Medium saucepan
- Spatula
- Wax paper or silicone baking mat
- Piping bag or zip-top bag with the corner snipped
Instructions
Prepare Your Workspace:
Lay out a sheet of wax paper or a silicone mat on your countertop. Have your candies, sprinkles, and icing ready to decorate while the trees are still slightly warm.
- Melt the Butter and Marshmallows:
In a medium saucepan, melt the butter over low heat. Add the mini marshmallows and stir until completely melted. Add a few drops of green food coloring and stir until the color is evenly distributed. Go ahead, make it as green as a Christmas forest! - Add the Cereal:
Remove the saucepan from heat and stir in the Rice Krispies cereal. Mix gently but quickly to coat every little piece with the green marshmallow mixture. - Shape the Trees:
While the mixture is still warm, grease your hands lightly with butter or cooking spray. Scoop out a handful of the mixture and shape it into a cone to resemble a Christmas tree. Place on the prepared wax paper to cool. - Decorate the Trees:
Press candies or sprinkles into the trees to act as ornaments. Use the white icing to pipe garlands or snow for extra festive flair. Let your creativity shine—there’s no wrong way to decorate these little beauties! - Let Them Set:
Allow the trees to cool and set completely before serving. If you’re short on time, pop them in the fridge for 10-15 minutes. - Serve and Enjoy:
Arrange the trees on a festive platter, or wrap them in clear treat bags with ribbons for gifting. They’re sure to be a hit at any holiday gathering!
Storage Tips
- Room Temperature: Store in an airtight container for up to 3 days.
- Refrigeration: Keep in the fridge for up to 1 week if your kitchen is warm.
Recipe Tips & Tricks
- Tip 1: Add yellow candy stars on top for a classic tree topper.
- Tip 2: For a snowy look, sprinkle powdered sugar lightly over the finished trees.
- Tip 3: Use food-safe gloves for easier shaping without the sticky mess.
Variations
- Chocolate Christmas Trees: Add ½ cup of cocoa powder to the melted marshmallow mixture for chocolatey trees.
- Minty Trees: Stir in a few drops of peppermint extract for a festive twist.
- Rainbow Trees: Skip the food coloring and use colorful marshmallows for a whimsical look.
FAQ
Q: Can I use marshmallow fluff instead of mini marshmallows?
Yes, about 7 ounces of marshmallow fluff will work as a substitute.
Q: Can I make these smaller for bite-sized treats?
Of course! Simply use smaller scoops and adjust the decorations accordingly.
Q: How can I make them gluten-free?
Double-check that your cereal and decorations are certified gluten-free.
Final Thoughts
These Rice Krispie Christmas Trees are a holiday tradition in the making, y’all! They’re festive, fun, and bring a little extra joy to the season. So grab your marshmallows, sprinkle some holiday spirit, and get ready to create something magical!
As an Amazon Associate, I earn from qualifying purchases. Some links on this site are affiliate links. Portions of this content are generated by AI.

