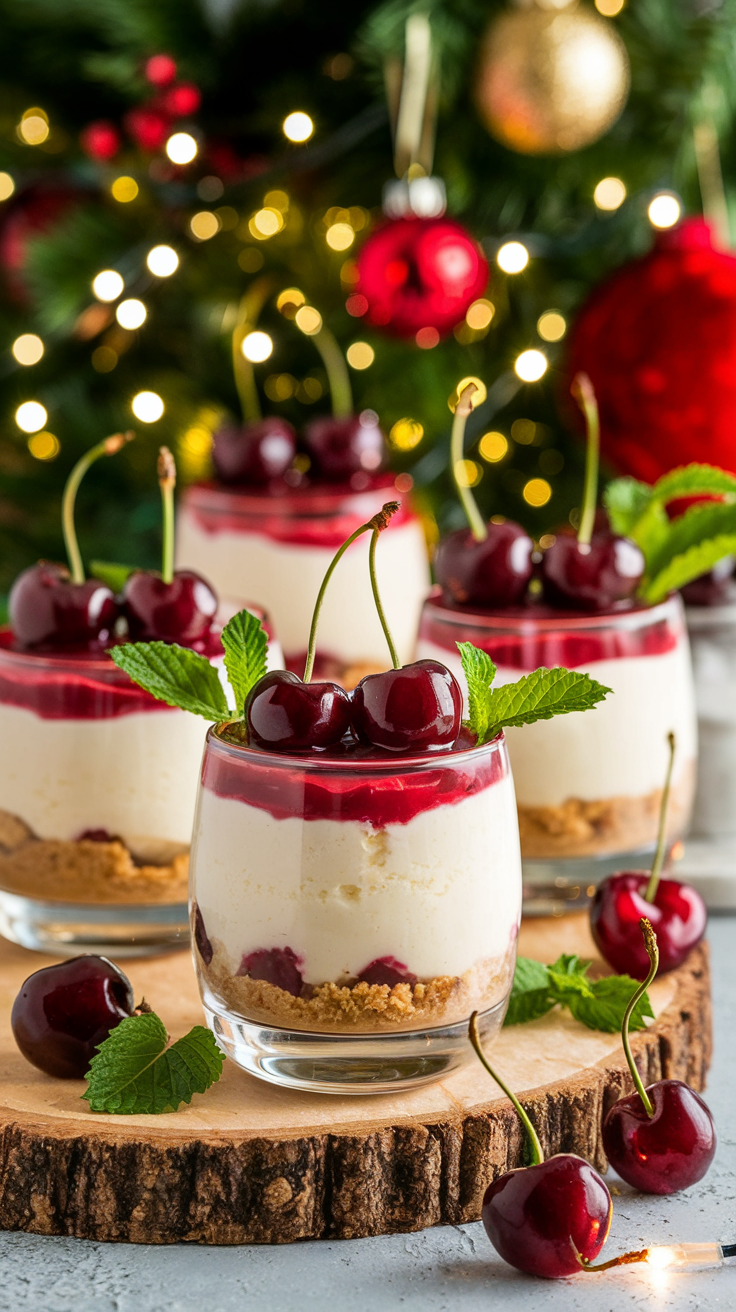
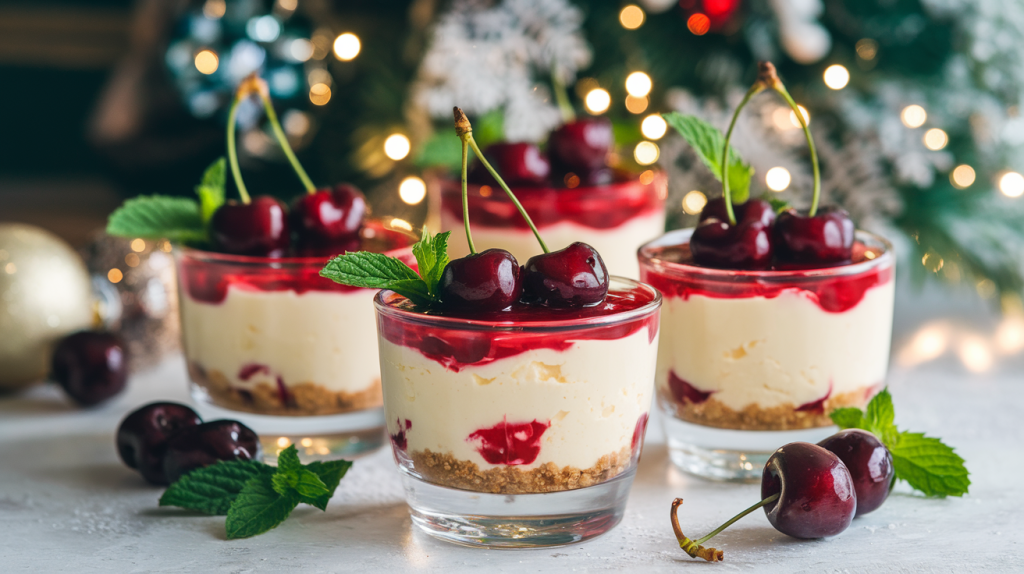
These No-Bake Cherry Cheesecake Cups are a simple yet decadent dessert that combines creamy cheesecake filling, a buttery graham cracker crust, and a luscious cherry topping. Perfect for individual servings at parties or as a quick indulgence, they’re easy to make and packed with flavor.

Ingredients
- 1 cup graham cracker crumbs: For the buttery base.
- 3 tbsp unsalted butter (melted): Helps bind the crust.
- 8 oz cream cheese (softened): The creamy foundation of the cheesecake.
- ¼ cup powdered sugar: Sweetens the filling.
- ½ tsp vanilla extract: Adds depth of flavor.
- ½ cup heavy whipping cream (cold): Creates a light, airy texture.
- 1 cup cherry pie filling: For the sweet, tangy topping.
Supplies Needed
- Small dessert cups or glasses
- Mixing bowls
- Hand or stand mixer
- Piping bag or spoon
Instructions
Prepare Your Workspace:
Set out small dessert cups or glasses to assemble the cheesecake layers.
- Make the Crust:
In a mixing bowl, combine the graham cracker crumbs and melted butter. Stir until evenly moistened. Spoon about 2 tbsp of the mixture into the bottom of each dessert cup, pressing down gently to create a firm layer. - Prepare the Cheesecake Filling:
In a large mixing bowl, beat the softened cream cheese and powdered sugar until smooth. Add the vanilla extract and mix to combine. - Whip the Cream:
In a separate bowl, whip the cold heavy whipping cream until stiff peaks form. Gently fold the whipped cream into the cream cheese mixture to create a light and fluffy filling. - Assemble the Cheesecake Cups:
Spoon or pipe the cheesecake filling over the crust layer in each cup, filling about two-thirds of the way. - Add the Cherry Topping:
Spoon a generous layer of cherry pie filling over the cheesecake layer in each cup. - Chill to Set:
Refrigerate the cheesecake cups for at least 2 hours before serving. - Serve and Enjoy:
Garnish with fresh cherries or mint leaves for an elegant touch, and serve chilled.
Storage Tips
- Refrigeration: Store in an airtight container in the fridge for up to 3 days.
- Freezing: Freeze individual cups (without the cherry topping) for up to 1 month. Add the topping after thawing.
Recipe Tips & Tricks
- Tip 1: Use clear cups to showcase the beautiful layers of this dessert.
- Tip 2: Swap graham crackers for crushed chocolate cookies for a richer base.
- Tip 3: Add a splash of almond extract to the cheesecake filling for extra depth.
Variations
- Blueberry Cheesecake Cups: Substitute cherry pie filling with blueberry pie filling for a fruity twist.
- Chocolate Cherry Cups: Add a drizzle of melted chocolate over the cherry topping.
- Gluten-Free Cups: Use gluten-free graham crackers for the crust.
FAQ
Q: Can I make these in advance?
Yes, these can be made up to 24 hours ahead and stored in the fridge.
Q: Can I use fresh cherries instead of pie filling?
Absolutely! Cook fresh cherries with a bit of sugar and cornstarch to create a quick homemade topping.
Q: Can I make this in a large dish instead of individual cups?
Yes, layer the ingredients in a trifle dish or baking dish for a family-style dessert.
Final Thoughts
These No-Bake Cherry Cheesecake Cups are the perfect combination of creamy, tangy, and sweet. Effortless to prepare and stunning to serve, they’re a go-to dessert for any occasion. Try them today and enjoy the irresistible charm of this classic treat!
As an Amazon Associate, I earn from qualifying purchases. Some links on this site are affiliate links. Portions of this content are generated by AI.

